Spectacular And Attractive Yarn Storage Ideas You Need
Ever felt your yarn stash was spilling into all parts of your craft room or house? Here in this post you can find spectacular and attractive yarn storage ideas. I talk about how I got control of my unruly yarn stash, created a small but affordable space, and gained control over it once again.
When I decided to start DulceBella Designs, all of my yarn and craft supplies were stored in plastic tubs in various closets around the house. The same was true of all my finished projects. Soon, I realized that this was not going to work efficiently. The continuous search through random tubs to find needed supplies for a project was frustrating. I needed yarn storage ideas, now!
Organizing your yarn stash
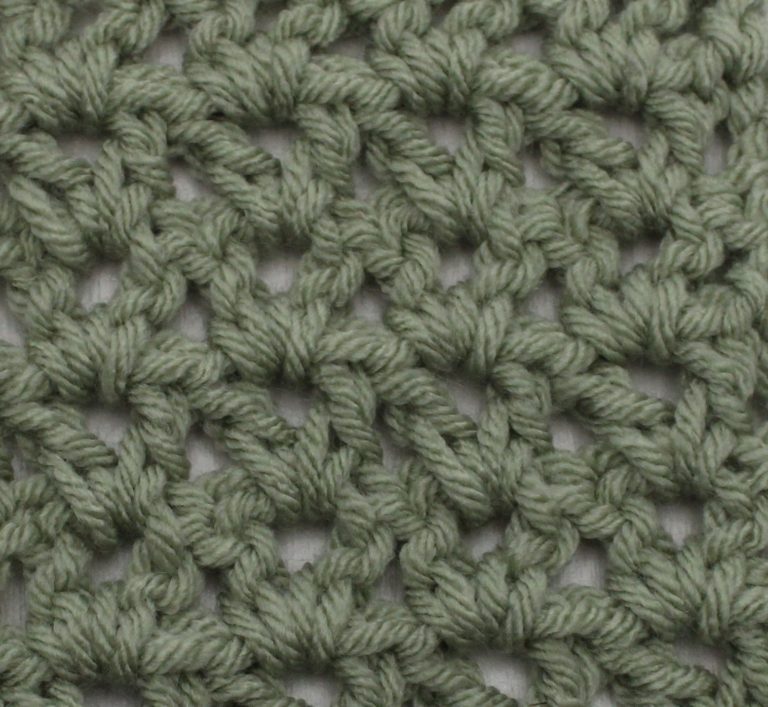
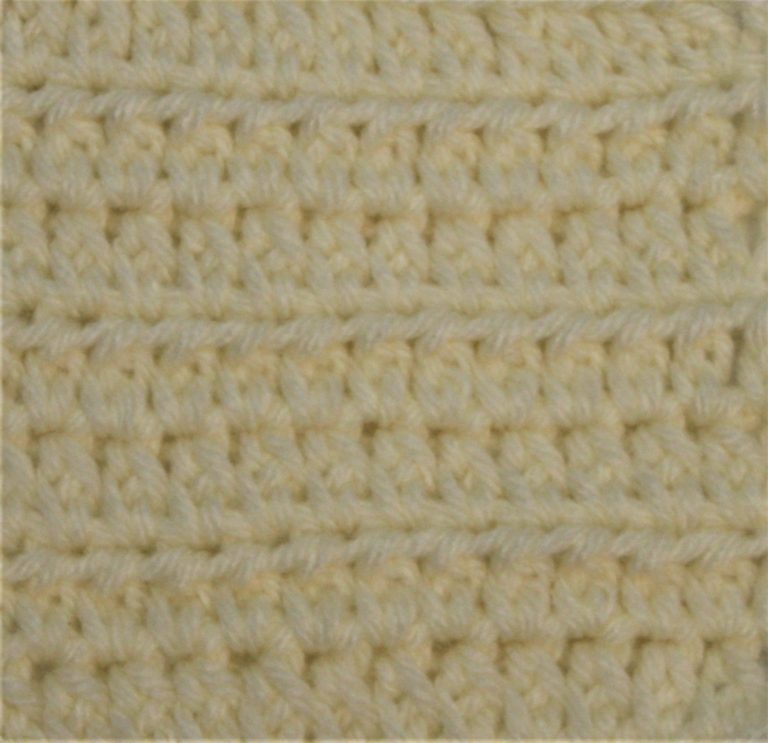
Yarn crafts are very satisfying and relaxing. The gentle touch of the soft, silky yarn is soothing. The smooth steady movement of the hook creates a calming effect. In addition, the repetitive motions of crocheting allows the minds of the crafters to relax and drift. But like any craft, the supplies can become unruly and spill over into unwanted areas. My yarn stash was no different! It was everywhere!
As with organizing any room or area, you need to break it down into 5-simple steps. Following these steps helped me regain control over my crafty crochet obsession!
1. Take Everything Out
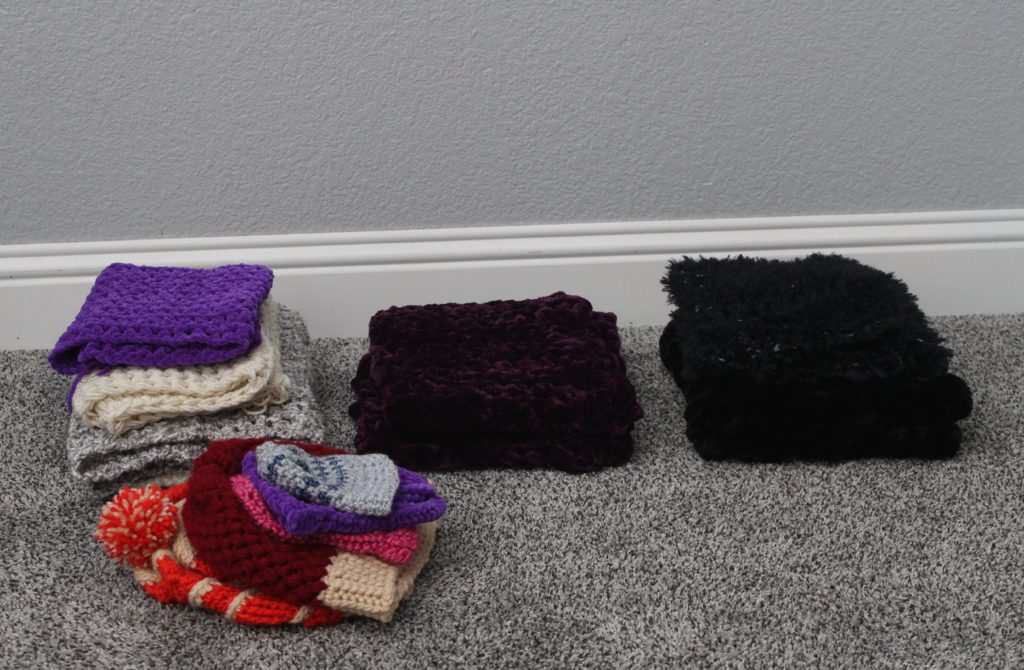
The very first step to any reorganizing project is to take everything out. Lay it out where you can see everything you have and how much of each type of item you have. This also gives you a chance to do a deep cleaning of any shelves, drawers, or containers that you may be using.
If you have too much stuff or not a large enough space to pull everything out in the open, break it down in smaller sections. Maybe start with just your yarn stash, then organize your unfinished projects. Then finish with all the supply tools you use.

In the case of my unruly yarn stash, I began by contemplating my options and determined I would need to do some reorganizing of my closets first. Initially, I found all my tubs of yarn, hooks, finished projects, and unfinished projects (yes, we all have them.) and laid it all out in my bedroom.
For me this lead right into the next step.
2. Sort Your Supplies
Once you can see everything you have, you can dive into this step, sorting your supplies. This gives you the chance to see what tools and supplies you use and even the ones you do not use. It also gives you the opportunity to see how much storage you actually need.
Use this step as I did, and look at your WIP’s (works in progress). I had 5 of them! WOW! What was I thinking? Are any of those old works in progress worth keeping? If not, take them apart and reuse the yarn or donate it.
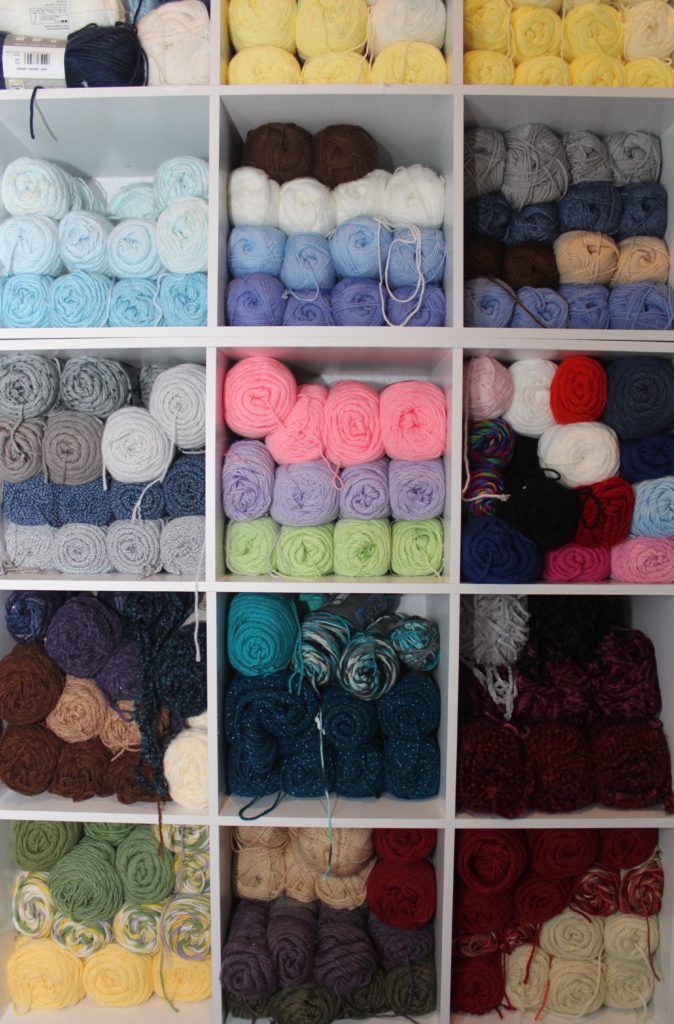
To start with, I sorted and consolidated my yarn stash. I chose to sort it by color, although you could sort yours by brand, weight, or type of yarn. Most of my yarn is acrylic yarn, so color seemed the best option for me. I had some solid colored yarns that coordinated with certain variegated yarns, so I left them together as well. Then I took inventory of what I had.
3. Give Or Throw Away Unused Items
If you are like me, this is a hard step to do. I looked at every ball, skein, and clump of yarn I had and thought “Oh, I will use it someday.” Well, let’s be honest, for some of us (like me), someday may never come. Especially for those small left over balls from projects passed. I always think to myself, I will some day make one of the scrap blankets, but I never do! So I finally let go of all those small balls of beautiful colors.
Now for the easy part of this step. Throw away anything that is broken or that you can’t use.
4. Buy the correct storage containers
Now that you have a clear view of what you have, sort it into piles on how you plan to store it. Also look at the space or room you plan to use to store the supplies. Think about what kind of storage containers will work best for that space as well as the piles you have sorted. If you are on a budget, look at what kind of containers you may already have and how they might work. Look to upcycle furniture and other items into new innovative storage solutions. Some different ideas for this are found here. No one said you had to buy all new containers to organize your space.
My storage option was a small walk in closet that was about 5′ x 5′. Not huge at all, and I was still needing to share the space with the extra winter coats. I had already determined that my large, colored, plastic tubs did not work in this space. I also needed my supplies, works in progress, and finished projects to be easily accessible to make my new Esty Shop efficient. So I had to get creative.
You can find a list of different storage bin ideas below or you can click here.
5. Label Your Bins
Finally, after arranging everything into appropriate bins, label them. This will keep your supplies organized. When you need supplies you will know exactly where to find them. Then, when you are finished, you can easily and quickly put them exactly where they belong.
You can let your creative side take control again here. There are many ways to label containers. Find one that works for you needs, that is easily read, and will stand the test of time. You can even get decorative with this step as well, if that is what you desire. Below I have listed a few labeling options for you to consider.
- Sticker Labels: Purchase these at any craft store or office supply store. Then write on them with a marker or use a computer printer and print the labels.
- Chalkboard Labels: These are very popular right now. Again, purchase these labels at craft stores or online. They come in many forms from stickers to hanging wooden labels.
- Printable Label: It is easy to purchase decorative printable labels from Esty sellers or make them using a computer and printing them out.
- Vinyl Labels: Many crafters, like myself, own a Cricut or Cricut Joy and cut labels from vinyl. Then place the labels on the outside of plastic storage containers.
- Baskets/Containers With Labels: Purchase storage containers, like baskets, with labels already attached.
Spectacular And Attractive Yarn Storage Ideas
When you are ready to take control of you yarn stash, and put an end to the unruly mess, try one or more of these genius yarn organizers. All of these are easy to customize and help you organize your yarn obsession. Your yarn does not have to just be placed in tubs behind closed doors. Many of these ideas are spectacular and attractive yarn storage ideas.
- Cube Storage Organizer
- Hanging yarn organizer (shoe pockets, clothes shelves)
- Portable yarn organizer tote
- Plastic Bins
- Baskets (wire, crocheted, wicker, fabric, woven), jars, tall vases, containers
- Rolling carts
- Upcycled furniture (wine rack, armoire, tv cabinet, crib rail, cd tower, bookshelf, old china hutch)
- DIY Storage (Wooden crates, peg board, PVC pipe
Tips to consider When storing yarn
*Don’t be afraid to show off your yarn collection. Yarn comes in all colors and is pretty, so why not decorate with it.
*Store your yarn in the right climate. Over time, extreme temperatures break down the fibers of the yarn. Attic storage
*Store yarn in containers and places safe from pests. Pests love to use fibers to snuggle down in. I mean, why not, we do. If your storage space in somewhere you rarely go to, like a basement, be sure to keep it in sealed containers so pests can not get in.
*Don’t wind your yarn too tight. Small left over skeins of yarn can easily tangle and knot. I, like many yarn crafters, wind my left overs into balls. Some wind the skeins into balls before they start a project. Just be cautious to not wind the yarn to tightly
Spectacular and attractive yarn storage overhaul complete
For my storage solutions, I used several of these ideas, or variations of them. My husband started by moving two of the hanging rods and shelves higher in the closet. This way they are still there and usable in my personal needs change. Then, I added cubby storage to two of the walls of the closet. Along the first wall, I purchased 2 nine-cube cubby units from Walmart. These fit almost perfectly along this wall and I was able to stack the two of them vertically.
Along the second wall I needed larger units and wanted more opened spaces for larger items. I found Furinno Luder Bookcases on Amazon that allowed me to customize my space. These cost a bit more, but I am pleased with the final results.
Final Touches
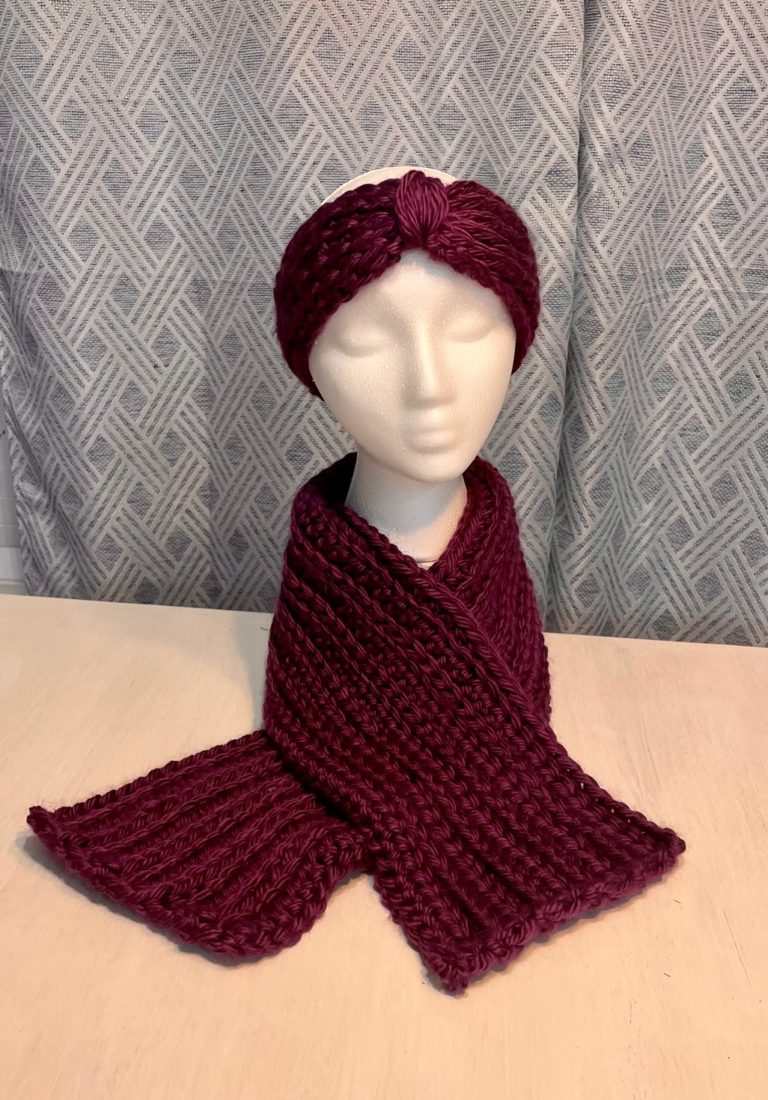
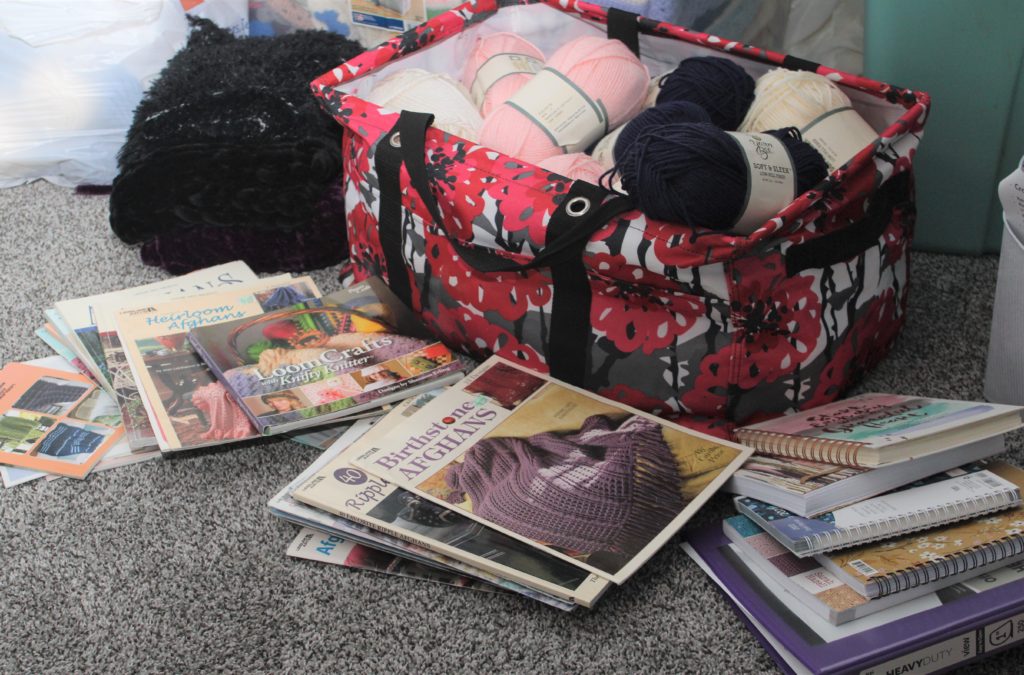
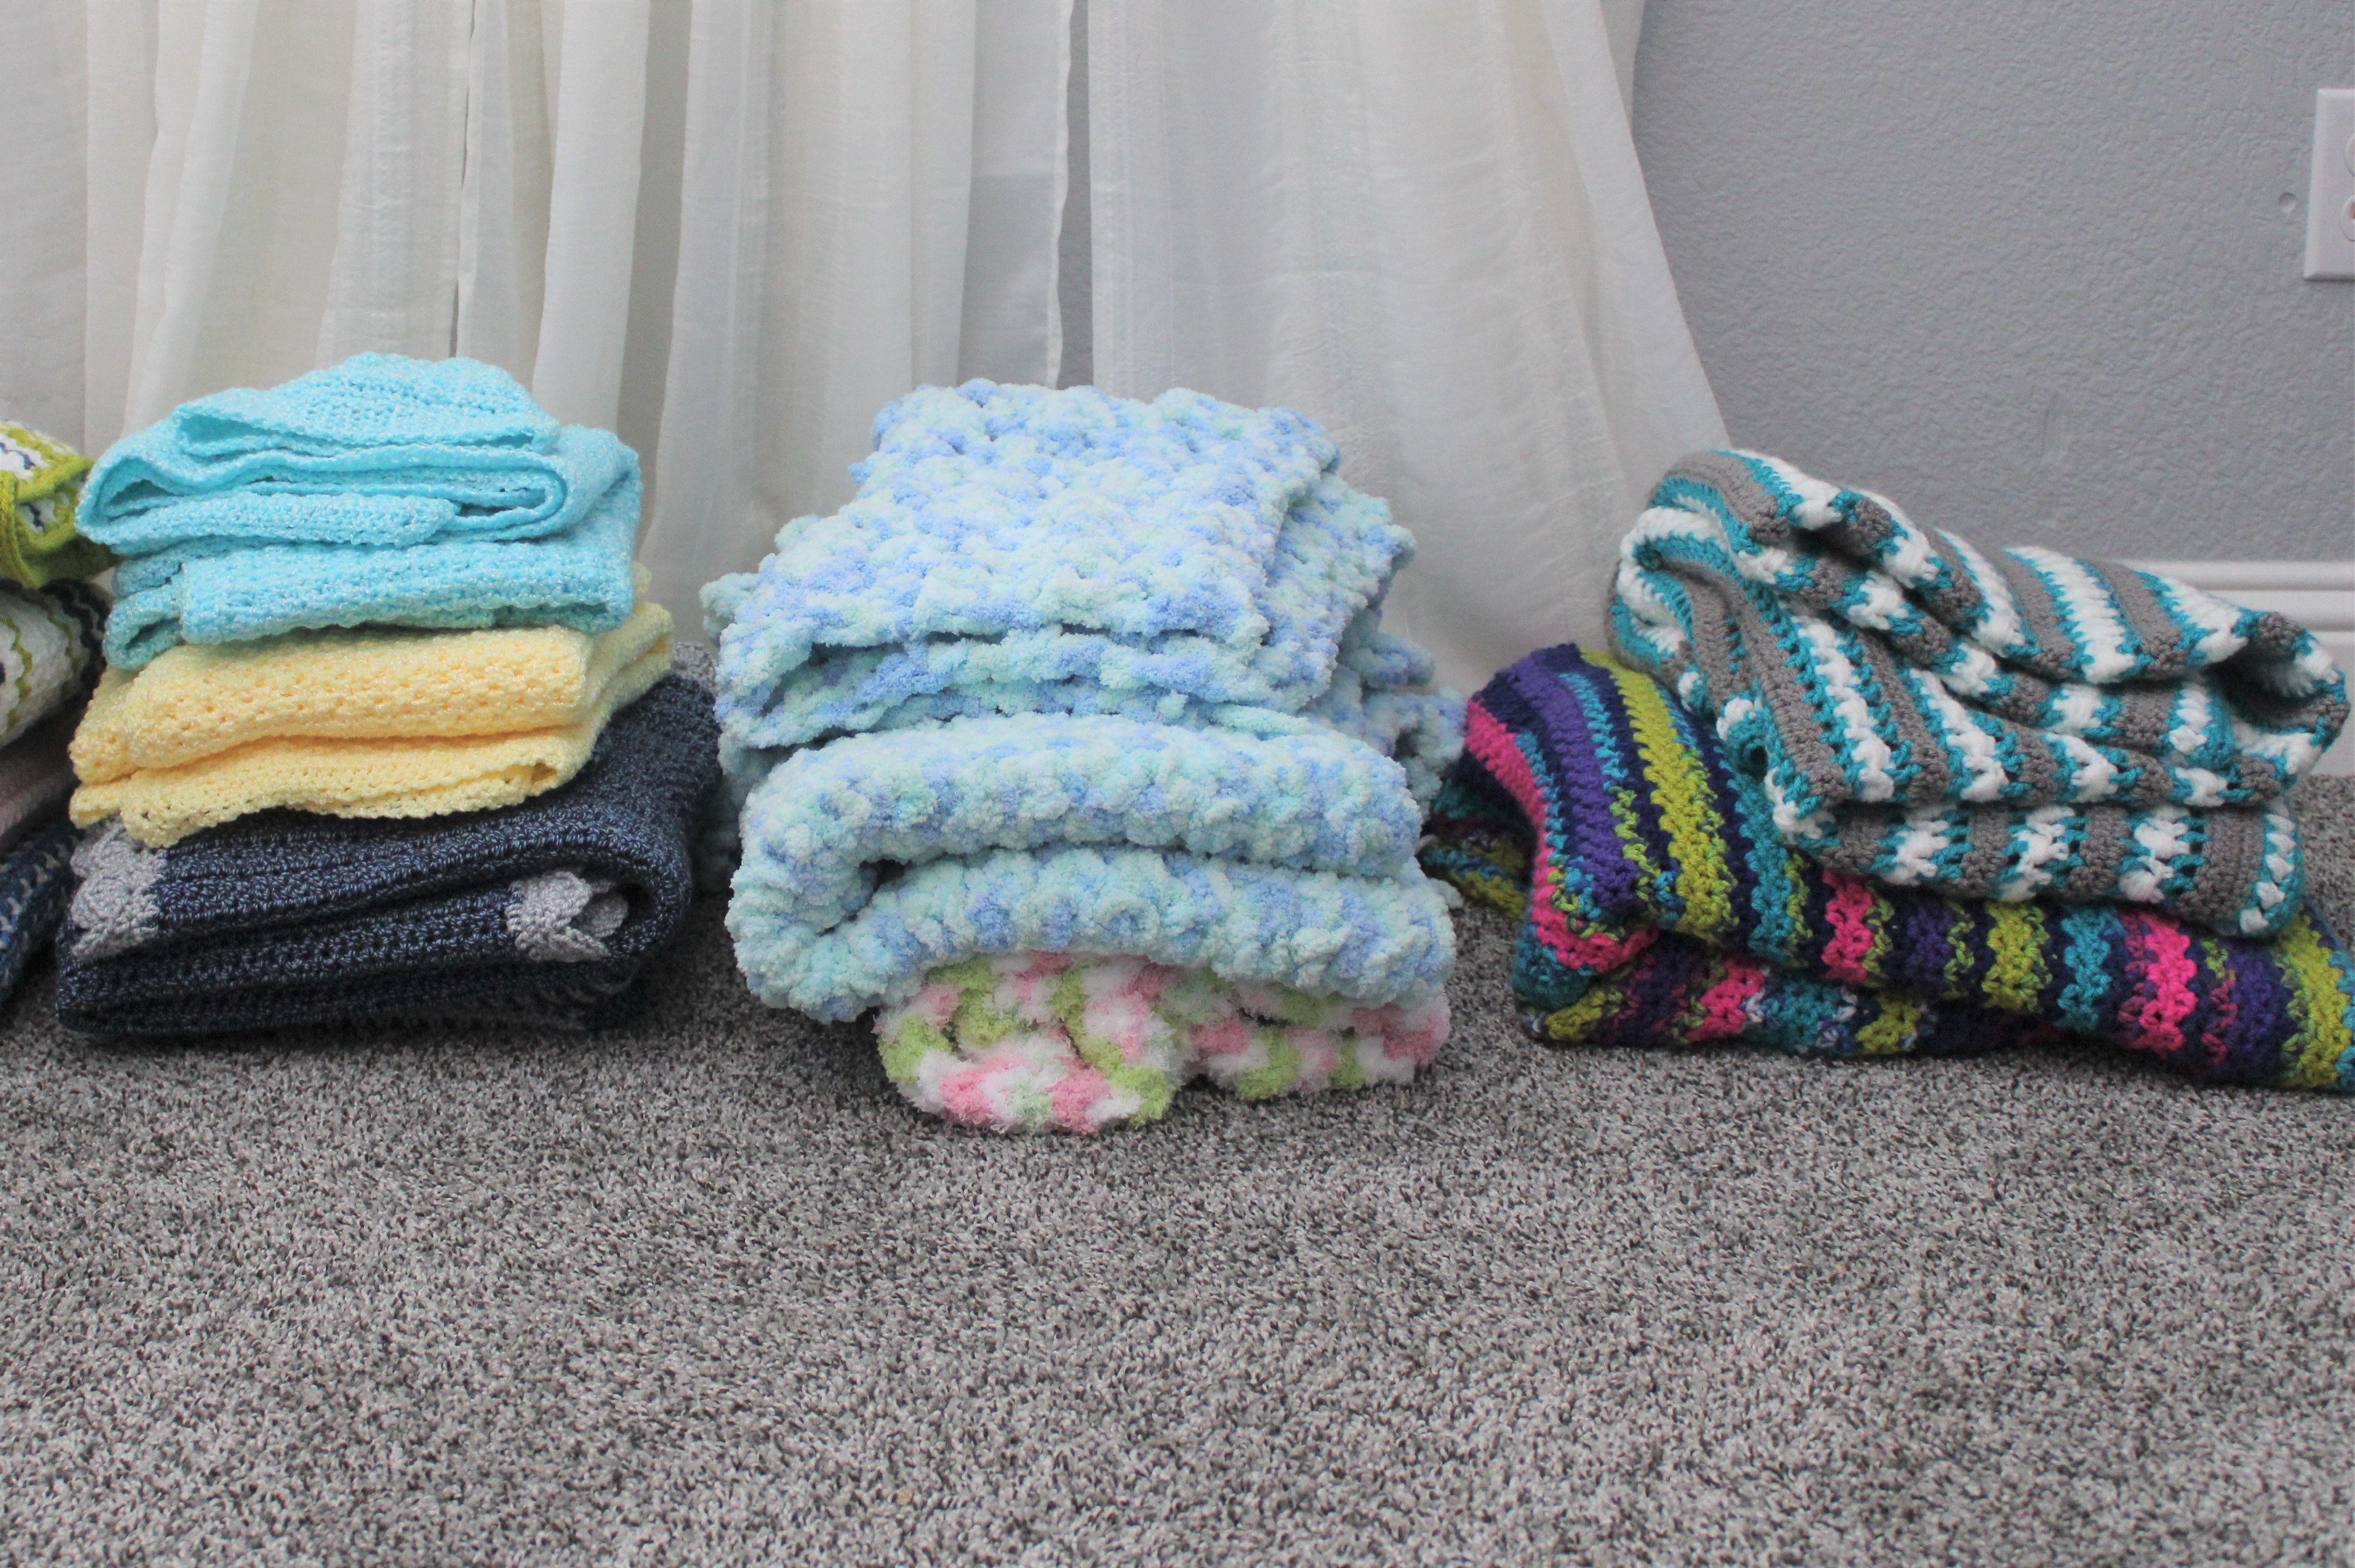
For the final touches, I added smaller, decorative containers to hold tools and smaller balls of yarn. I placed my pattern books and crochet journals in magazine holders on the shelves. Collapsible storage bins and baskets were labeled and used for smaller finished projects like hats, scarves, and ear warmers. Larger finished projects like baby blankets and throws were sorted and placed neatly in the remaining open shelves and cubbies.
Even though I have to share my space with the extra winter coats, I am excited to have my yarn stash, tools, and finished projects neatly organized and easily accessible. As a bonus, it is pretty inviting to enter this little corner of my world. Maybe one day, I will have an actual room dedicated to my yarn obsession! A girl can dream, anyway!
It really is about finding what works for you. If you do yarn crafts, you are already a creative person, so step outside the box of yarn crafts and get creative. Spectacular and attractive yarn storage ideas are readily available.